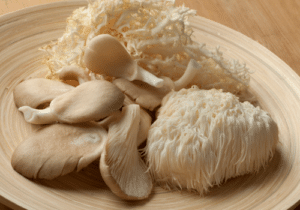

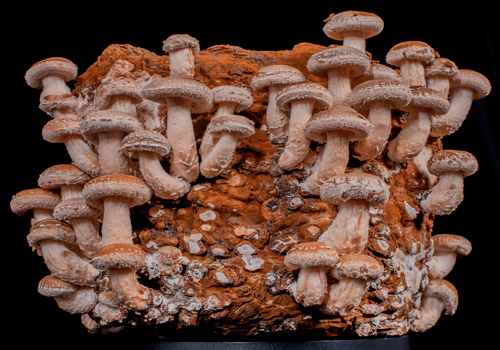
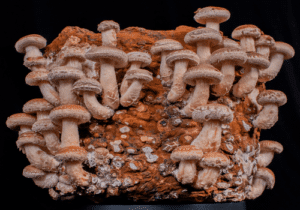
SHIITAKE: Grow Kit Instructions
Learn how to grow Shiitake mushrooms using the Myterra Labs Easy Mushroom Grow Kit

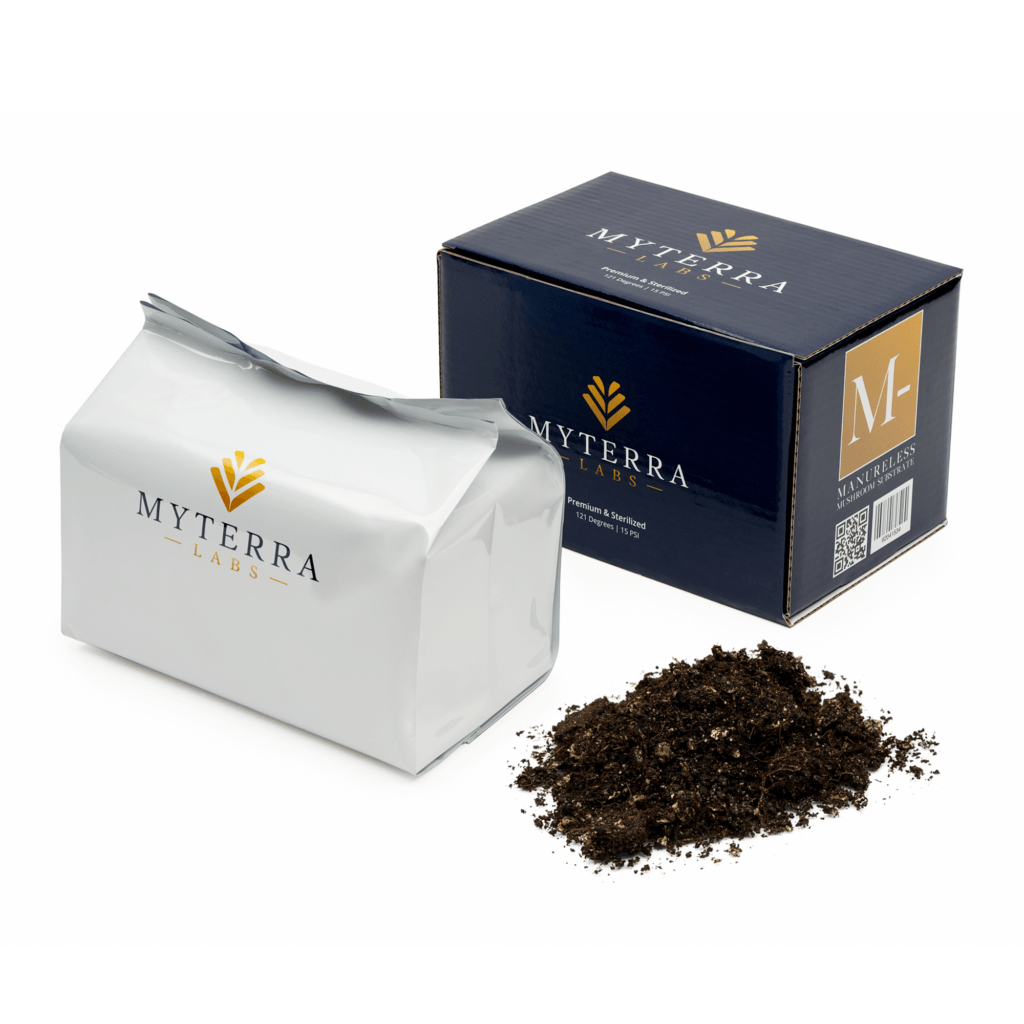
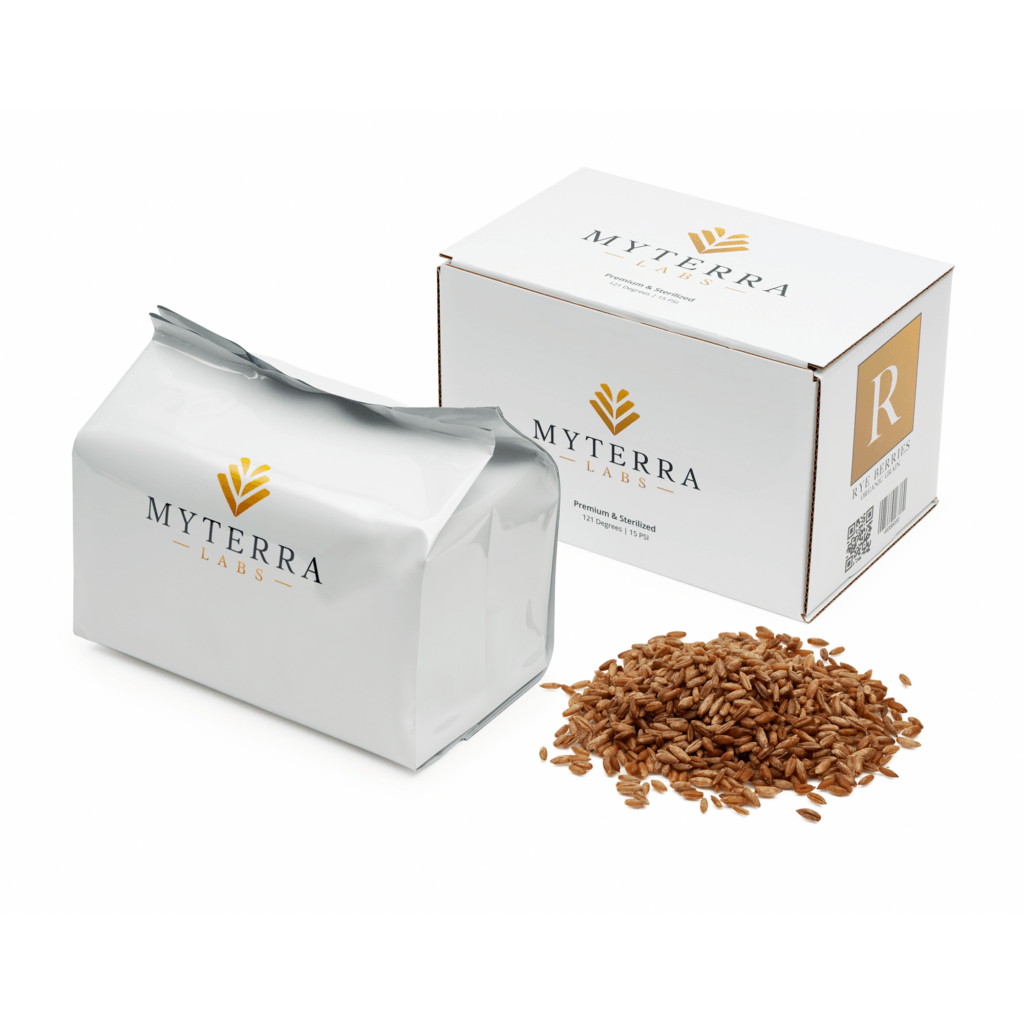
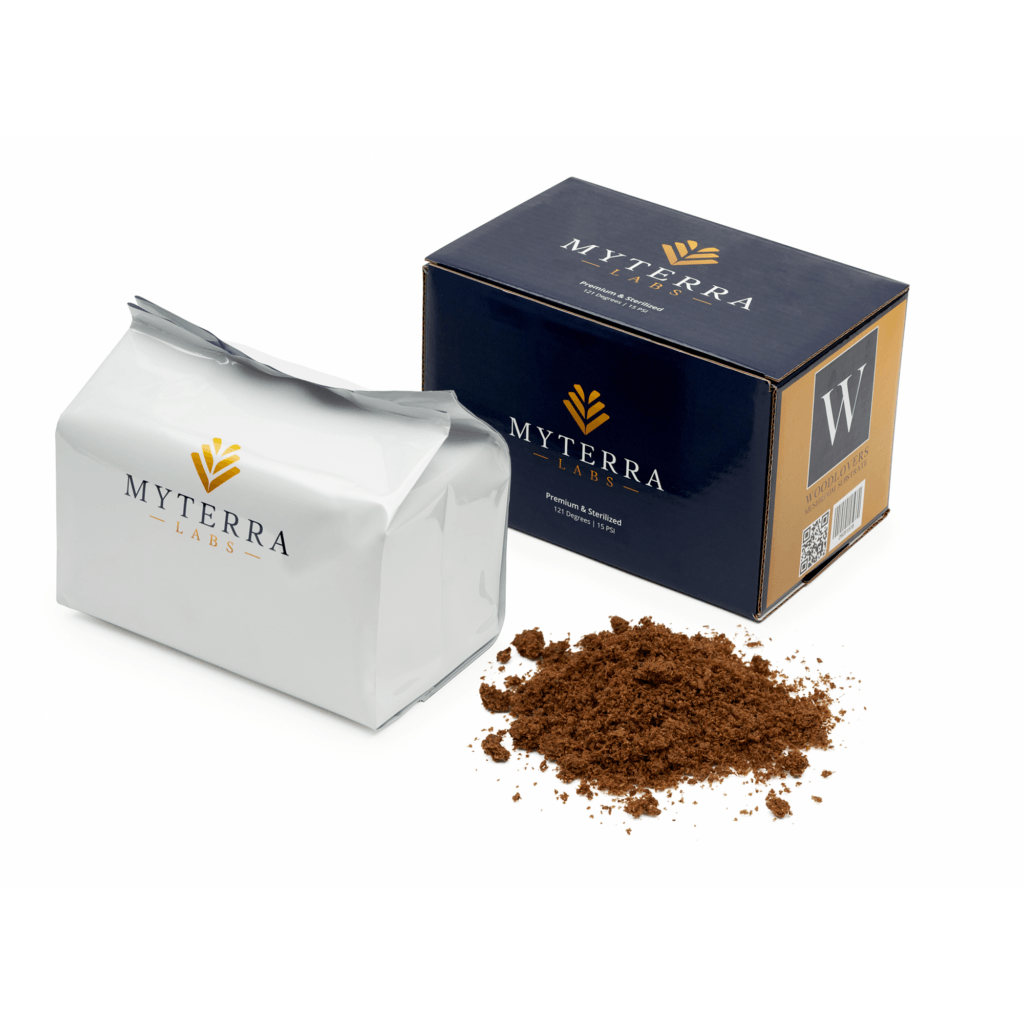
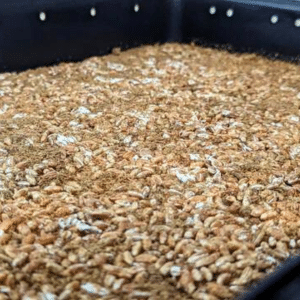
Substrate Compatibility Guide
Selecting the right substrate is a key element in successful mushroom cultivation. Our Substrate Compatibility Guide is your go-to resource for understanding which substrate works ...
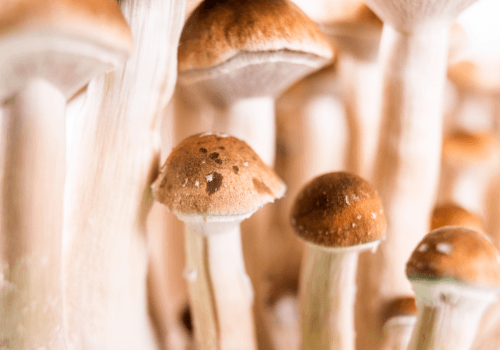
PS1: Grow Kit Instructions
Welcome to the enchanting realm of our All-in-one Grow Kit, where you're about to embark on a mesmerizing journey into the world of naturally occurring ...
SHIITAKE: Grow Kit Instructions
Learn how to grow Shiitake mushrooms using the Myterra Labs

Substrate Compatibility Guide
Selecting the right substrate is a key element in successful

PS1: Grow Kit Instructions
Welcome to the enchanting realm of our All-in-one Grow Kit,
