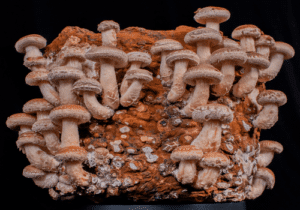
SHIITAKE: Grow Kit Instructions
Learn how to grow Shiitake mushrooms using the Myterra Labs
RECEIVE 10% OFF ON YOUR FIRST ORDER! – USE CODE: WELCOME10
Delight your taste buds with the exquisite experience of growing your own mushrooms in a bucket! This blog will walk you through a simple and cost-effective method, perfect for beginners, to yield impressive results. Let the mushroom-growing adventure begin!
Once you’ve gathered your supplies, let’s dive into the easy steps:
Use the drill to create small, evenly spaced holes on the sides of the bucket (at least 2 inches apart). These holes serve as air vents and spots for mushroom clusters. Tape over some holes with micropore tape and the rest with clear packing tape, ensuring a proper seal. Clear tape allows you to monitor mycelium growth.
Seal the bucket with its lid tightly and place it in a cool environment away from direct sunlight. For optimal results, choose a humid area for fruiting.
Within a few days, observe white threads forming—the mushroom mycelium. Incubate the bucket in a humid environment. After 2-6 weeks, remove clear tape when mycelium is visible in all holes or when small blobs/pins appear.
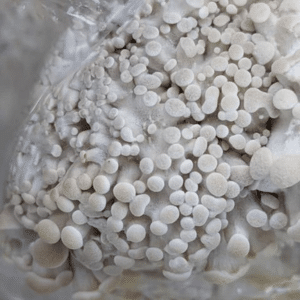
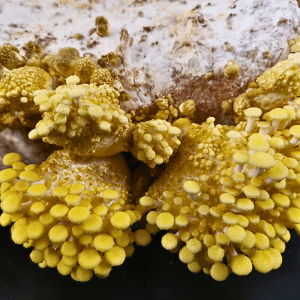
Once the mushrooms reach a desirable size, cut them at the base with scissors or a sharp knife. Alternatively, twist them out, being mindful not to remove too much substrate.
After harvesting, add another Woodlovers layer to the bucket. The existing mycelium will inoculate the new substrate, accelerating the growth process.
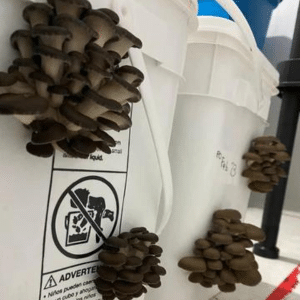

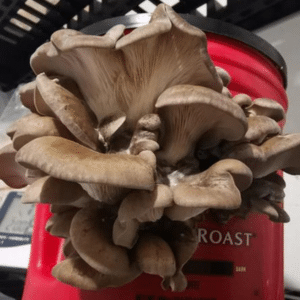
Growing mushrooms in a bucket is a delightful and straightforward process, offering the reward of home-grown delicacies. With minimal supplies and a dash of patience, you’ll soon savor the flavor of your freshly cultivated mushrooms. Get ready to embark on your mushroom-growing journey!
Delight your taste buds with the exquisite experience of growing your own mushrooms in a bucket! This blog will walk you through a simple and cost-effective method, perfect for beginners, to yield impressive results. Let the mushroom-growing adventure begin!
Once you’ve gathered your supplies, let’s dive into the easy steps:
Use the drill to create small, evenly spaced holes on the sides of the bucket (at least 2 inches apart). These holes serve as air vents and spots for mushroom clusters. Tape over some holes with micropore tape and the rest with clear packing tape, ensuring a proper seal. Clear tape allows you to monitor mycelium growth.
Seal the bucket with its lid tightly and place it in a cool environment away from direct sunlight. For optimal results, choose a humid area for fruiting.
Within a few days, observe white threads forming—the mushroom mycelium. Incubate the bucket in a humid environment. After 2-6 weeks, remove clear tape when mycelium is visible in all holes or when small blobs/pins appear.


Once the mushrooms reach a desirable size, cut them at the base with scissors or a sharp knife. Alternatively, twist them out, being mindful not to remove too much substrate.
After harvesting, add another Woodlovers layer to the bucket. The existing mycelium will inoculate the new substrate, accelerating the growth process.


Growing mushrooms in a bucket is a delightful and straightforward process, offering the reward of home-grown delicacies. With minimal supplies and a dash of patience, you’ll soon savor the flavor of your freshly cultivated mushrooms. Get ready to embark on your mushroom-growing journey!

Learn how to grow Shiitake mushrooms using the Myterra Labs
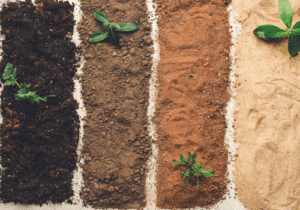
Selecting the right substrate is a key element in successful
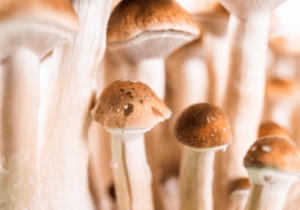
Welcome to the enchanting realm of our All-in-one Grow Kit,
© 2023 Myterra Labs. Designed by Laura Ramsay. Developed by Info2grow Media Services.