Embarking on the journey of cultivating your mushrooms is an exciting venture, especially when armed with the right knowledge and equipment. Join us as we walk you through the step-by-step process of creating a mushroom grow bag with Myterra Labs – your trusted source for sterilized grains, substrates, and kits.
Creating a clean environment for inoculating your fruiting blocks is key. While a laminar flow hood is optimal, you can also use a still-air box or a clean room with minimal airflow. Minimizing unfiltered air movement reduces the risk of contaminants entering your fruiting block.
Step 3: Decide on the Number of Fruiting Blocks
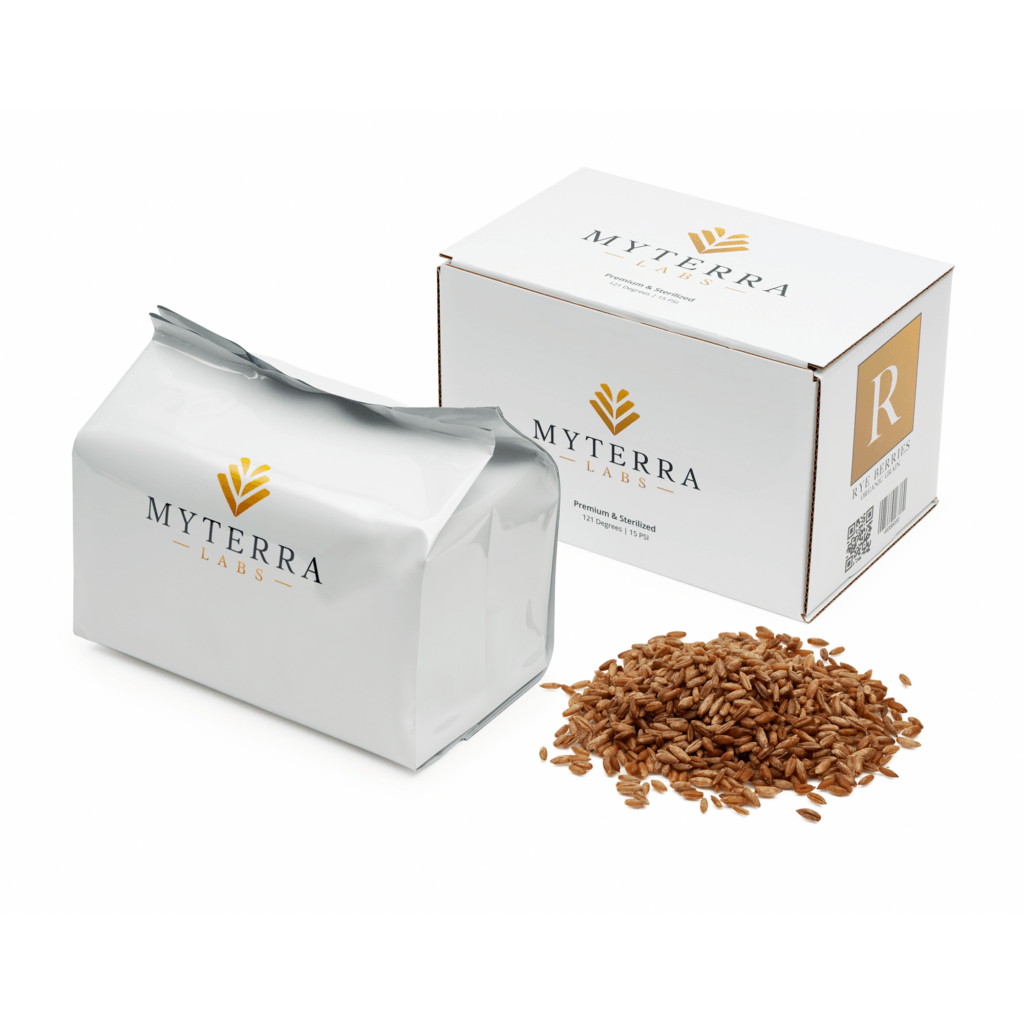
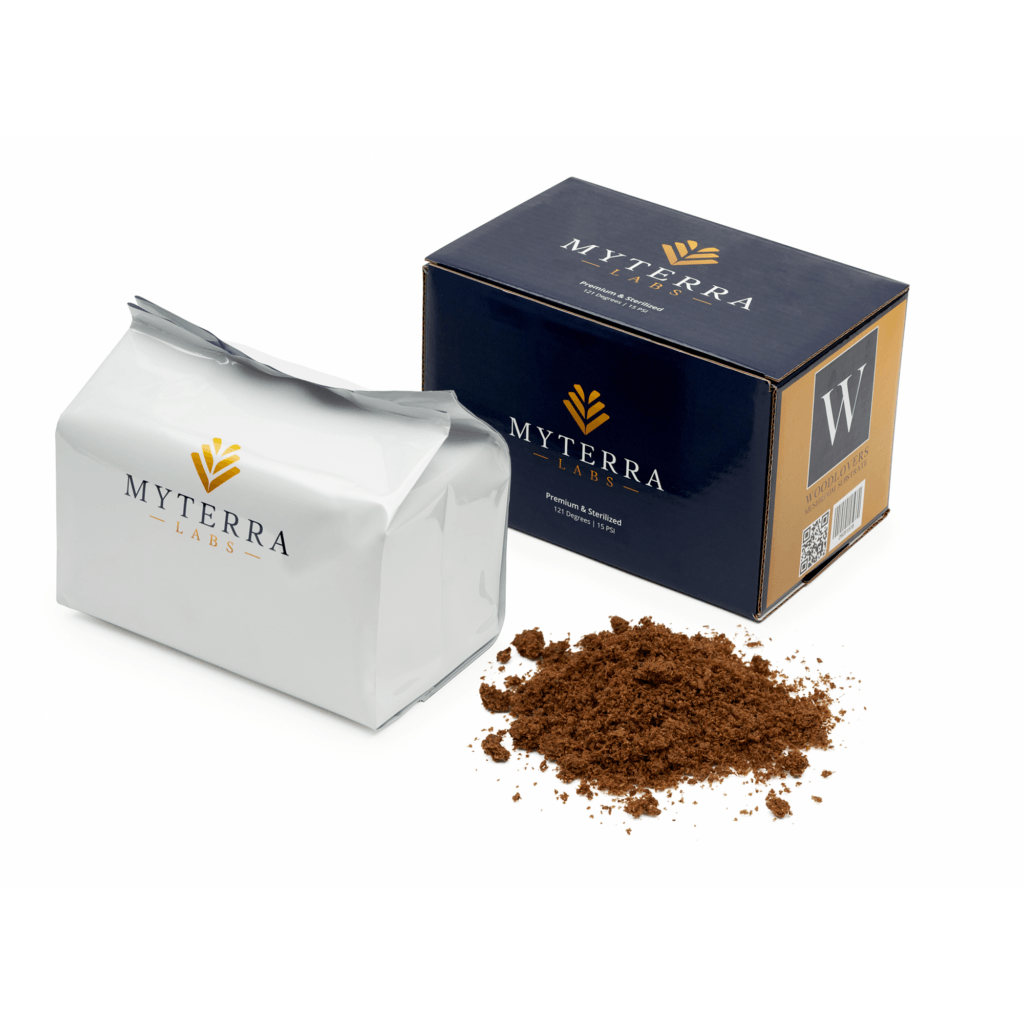
One bag of Myterra Labs’ grain can inoculate 2-10 Woodlovers bags. For beginners, we recommend a 1:6 spawn:substrate ratio. This means one colonized bag of grain per 6 bags of Woodlovers. Get ready, you’re about to have a lot of mushrooms!
Step 4: Clean Your Work Area
Prevent contamination by thoroughly cleaning all work surfaces and tools. Spray surfaces with 70% isopropyl alcohol before placing any bags or tools on them. Ensure tools are also sprayed and allowed to evaporate before use.
Step 5: Remove Woodlover Bags from Packaging
Carefully unpack Woodlover bags, which have been sealed in a HEPA-filtered clean room. Remove the white outer packaging without puncturing the inner unicorn bag. Exercise caution to avoid damaging the inner bag.
Step 6: Clean Your Hands and the Bags
Prioritize cleanliness by spraying gloves, hands, and tools with 70% isopropyl alcohol. Ensure the outside of Woodlovers bags is sprayed to eliminate any contaminants introduced during unpacking.
Step 7: Pour Grain Spawn into Woodlovers Bags
Cut open Woodlovers bags in front of a laminar flow hood, still-air box, or clean room. Shake the spawn bag to break up clumps, cut a corner to create a pouring hole, and distribute the grain spawn evenly between bags.
Step 8: Seal the New Fruiting Blocks
Seal bags immediately after pouring spawn, leaving some air for the next step. Test the seal by pressing on air pockets – if the bag deflates, reseal to prevent leaks.
Step 9: Shake It Up!
The final step involves shaking the bags to distribute the grain spawn evenly. Compress the fruiting block, label it with the species you are growing, and voila! Allow the bag to sit until fully colonized. Do not shake the bag after this step.