Wine cap mushrooms, also known as Stropharia rugosoannulata, are a tasty and versatile edible mushroom that can be grown in a garden bed. These mushrooms are not only delicious, but they also have the added benefit of being able to remove E. coli from the soil. In this blog post, we will guide you through the process of growing wine cap mushrooms in a garden bed, and explain the benefits of these mushrooms for both your garden and your kitchen.
What are Wine Cap Mushrooms?
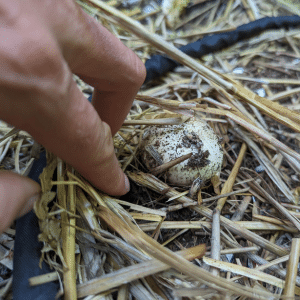
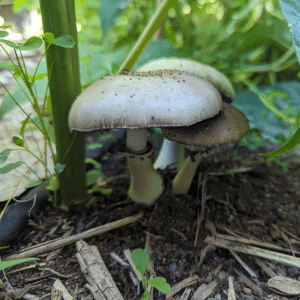
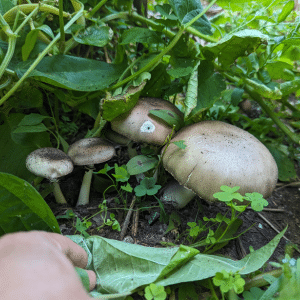
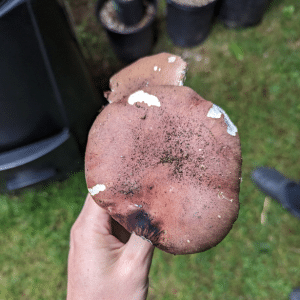
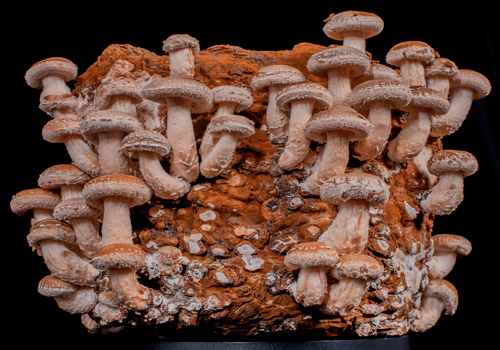
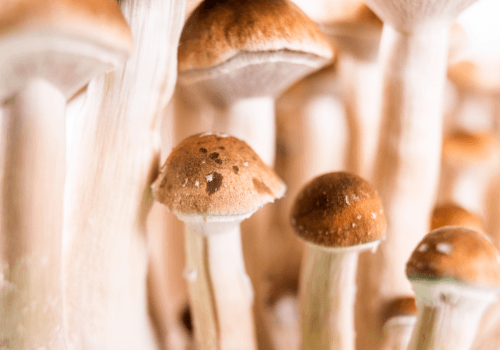
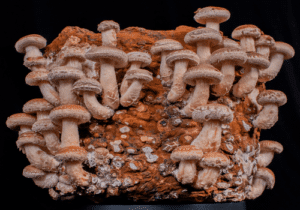
Wine cap mushrooms are a type of edible mushroom that is native to Europe, but can also be found growing wild in North America. These mushrooms have a distinctive wine-colored cap and grow in clusters on wood chips or other organic material.
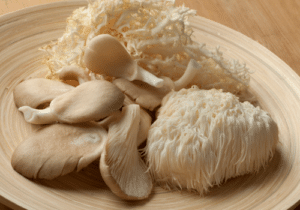
Wine cap mushrooms have a delicious, meaty flavor and a firm texture that makes them a popular choice for vegetarian dishes. Their flavor and size can be likened to portobello mushrooms. They are also high in protein, fiber, and essential nutrients like potassium, magnesium, and B vitamins.
Benefits of Wine Cap Mushrooms
In addition to their culinary benefits, wine cap mushrooms also have some unique benefits for gardeners. One of the most interesting benefits of wine cap mushrooms is their ability to remove E. coli from the soil.
E. coli is a common bacterium that can be found in the soil, and can sometimes cause foodborne illness in humans. While E. coli is not harmful to plants, it can be harmful to humans if ingested. Wine cap mushrooms have been found to be effective at removing E. coli from the soil, making them a useful tool for gardeners who want to reduce the risk of foodborne illness in their crops.
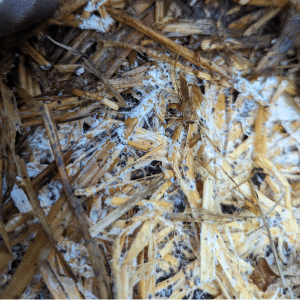
Another benefit of wine cap mushrooms is their ability to break down organic material and convert it into rich, nutrient-dense soil. Wine cap mushrooms are saprophytic, which means that they feed on dead organic matter like wood chips, leaves, and straw. As they break down this organic material, they release nutrients into the soil, making it more fertile and productive.
When is the best time to start a mushroom bed?
Spring, after last frost, through mid-fall, 3 weeks before first frost. The mushrooms will take between 2-10 months before you will see your first harvest of mushrooms. Spring planting typically results in a fall harvest, and fall planting typically results in summer harvest the following year.
How to Grow Wine Cap Mushrooms in a Garden Bed
Now that we’ve discussed the benefits of wine cap mushrooms, let’s get into the nitty-gritty of how to grow them in a garden bed. Here’s what you’ll need:
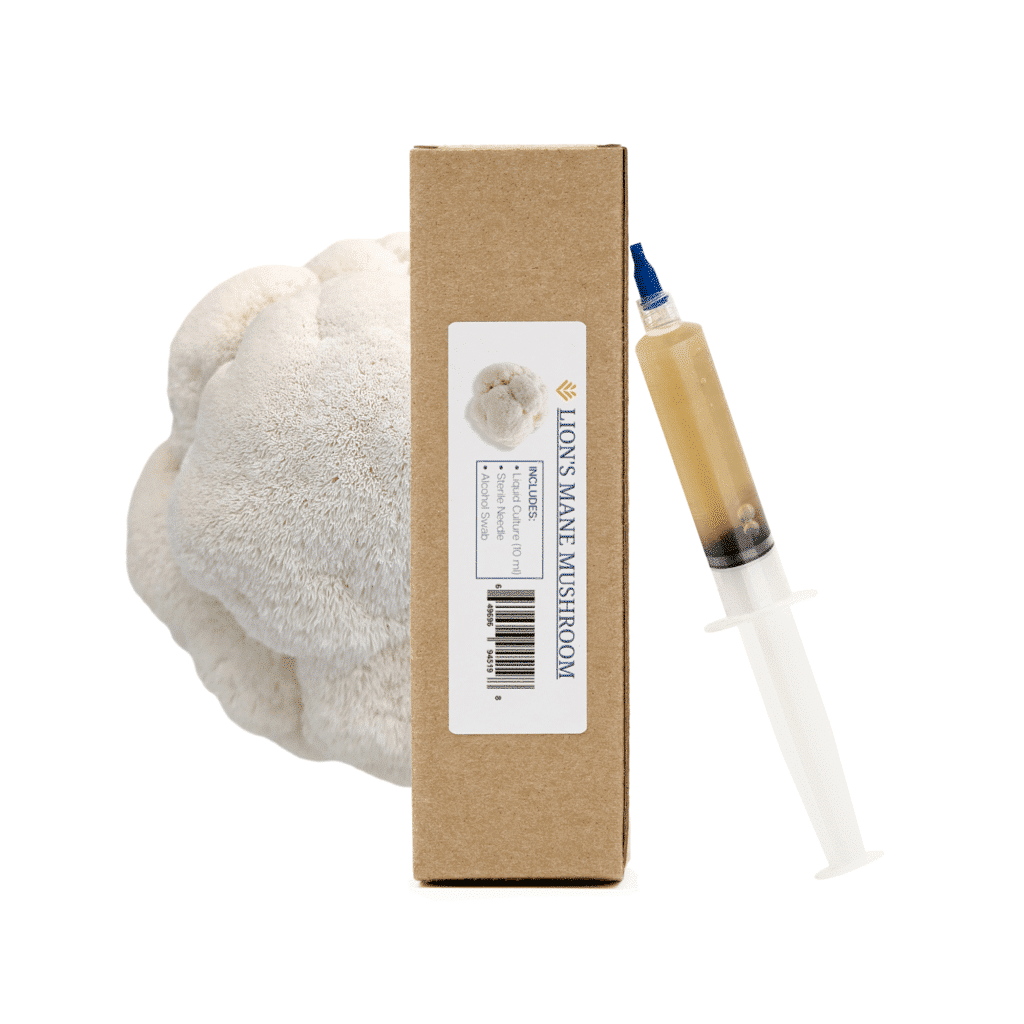
- Wine cap mushroom spawn (you can create your own spawn using Myterra Labs Wine Cap liquid culture and Organic Rye berries)
- Wood chips or other organic material (straw, leaves, etc.)
- Cardboard
- A garden bed with well-draining, nutrient-rich soil or compost to increase soil nutrition
- A pitchfork or other tool for mixing the spawn with the organic material
- Water